Once the Christmas wreaths come down and the orders slow, January and February get quiet in the workshop. That quiet is useful. It is the one stretch of the year when you can make something, take it apart and make it again without a deadline. We treat these weeks as practice time, and we suggest Krew members do the same.
The winter wreath making projects below are arranged as a sequence. Each one builds a skill the next one depends on: bows first, then base work, then balance. Work through them over six to eight weeks and you will go into spring with steadier hands and fewer surprises.
Weeks one and two: bows, over and over
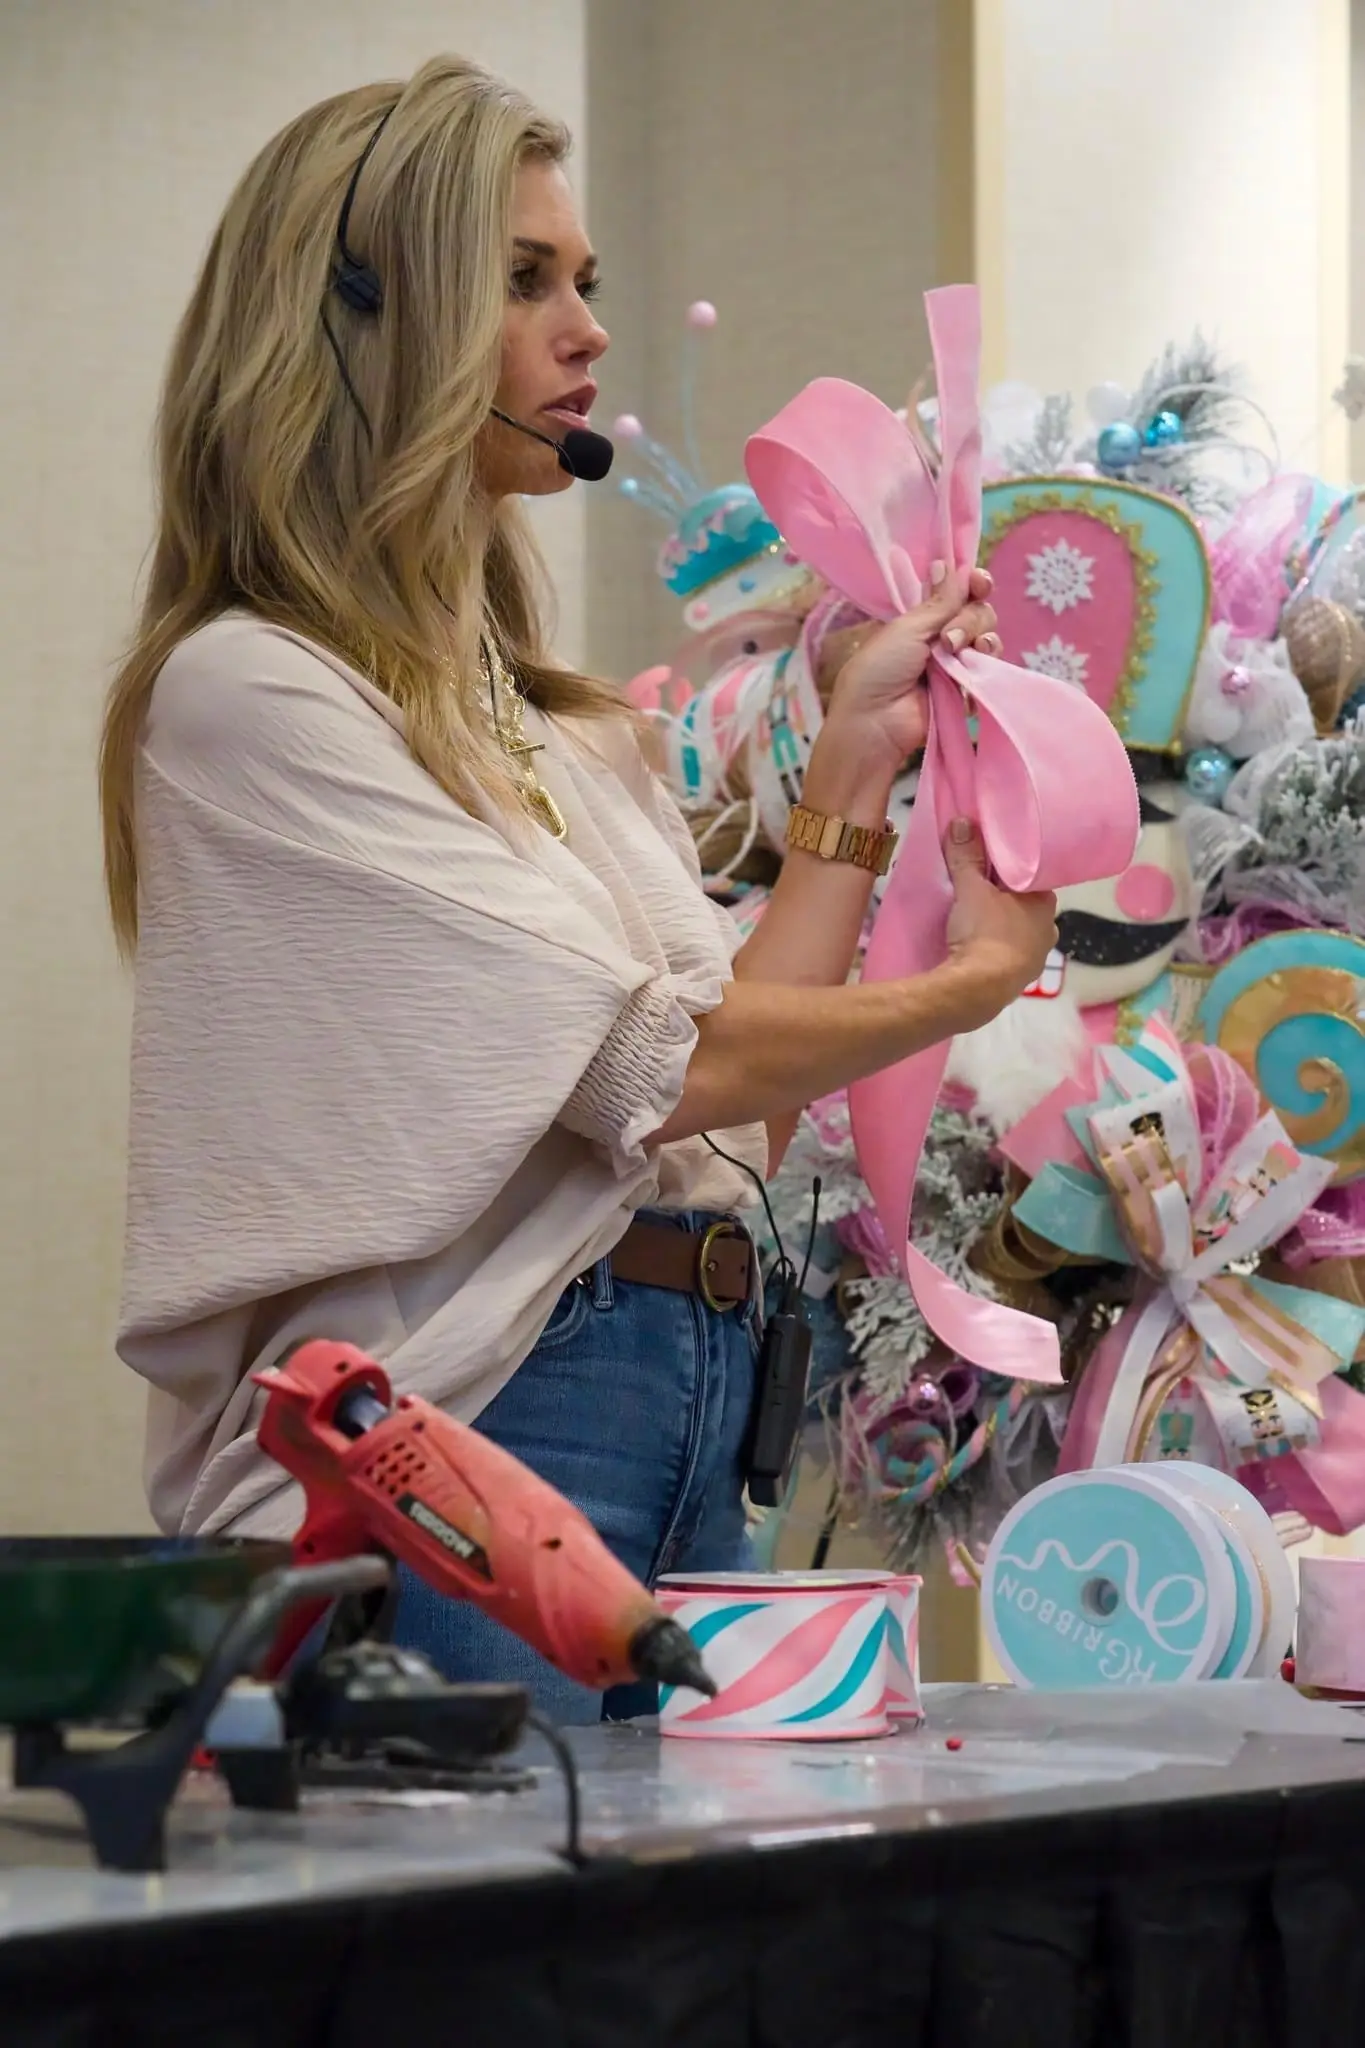
Bows are where most wreaths look homemade or finished, so start there. Pick one ribbon you have plenty of, ideally a wired 2.5 inch ribbon, and make the same bow ten times. Then switch to a different width and do it again.
What to practice:
- Even loop sizes on both sides. Measure the first loop and match the rest to it.
- Tight centers. A loose center is the most common reason a bow sags after a week on the door.
- Tails cut cleanly, either dovetail or angled, at the same length.
- Mixing two or three ribbons into one layered bow.
Do not glue or wire these bows to anything yet. Keep them in a box. You will use the good ones later, and comparing the first bow to the tenth is the clearest sign of progress you will get all winter.
Weeks three and four: base work
Next, learn your bases. Grapevine and deco mesh behave very differently, and a lot of trouble in a finished piece comes from a base that was not prepared well.
For grapevine, practice reading the vine. Find the natural gaps where stems tuck in securely, and decide where the focal point will sit before anything goes on. For deco mesh, practice even pouf sizes and consistent spacing around the frame so the wreath does not look lopsided from the street.
A good winter exercise is to build two bare bases, one of each, with only greenery or mesh and nothing else. Hang them on a door and look from ten feet away. If the base already looks full and even, florals will only improve it. If it looks thin in one spot, fix that now, because flowers will not hide it for long. If you are newer to bases, the free intro to wreath making course covers the fundamentals before you go further.
Weeks five and six: balance and focal points
Now put the pieces together. Take one practice base and one of your saved bows and build a simple winter design: greenery, a few pinecones or berry picks, and the bow.
Balance is not the same as symmetry. Most of our pieces are asymmetrical, with the weight sitting low on one side and lighter elements trailing the other way. Practice these habits:
- Place the largest element first, then build around it.
- Work in odd numbers for picks and stems.
- Step back every few minutes. Balance is easier to judge from across the room than from the table.
- Check the piece from the side. A wreath that looks balanced from the front can still be too deep for a storm door.
Build one, photograph it, then strip it and rebuild it with the focal point in a different place. Comparing the two photos will teach you more than reading about placement ever could.
Weeks seven and eight: a full piece, start to finish
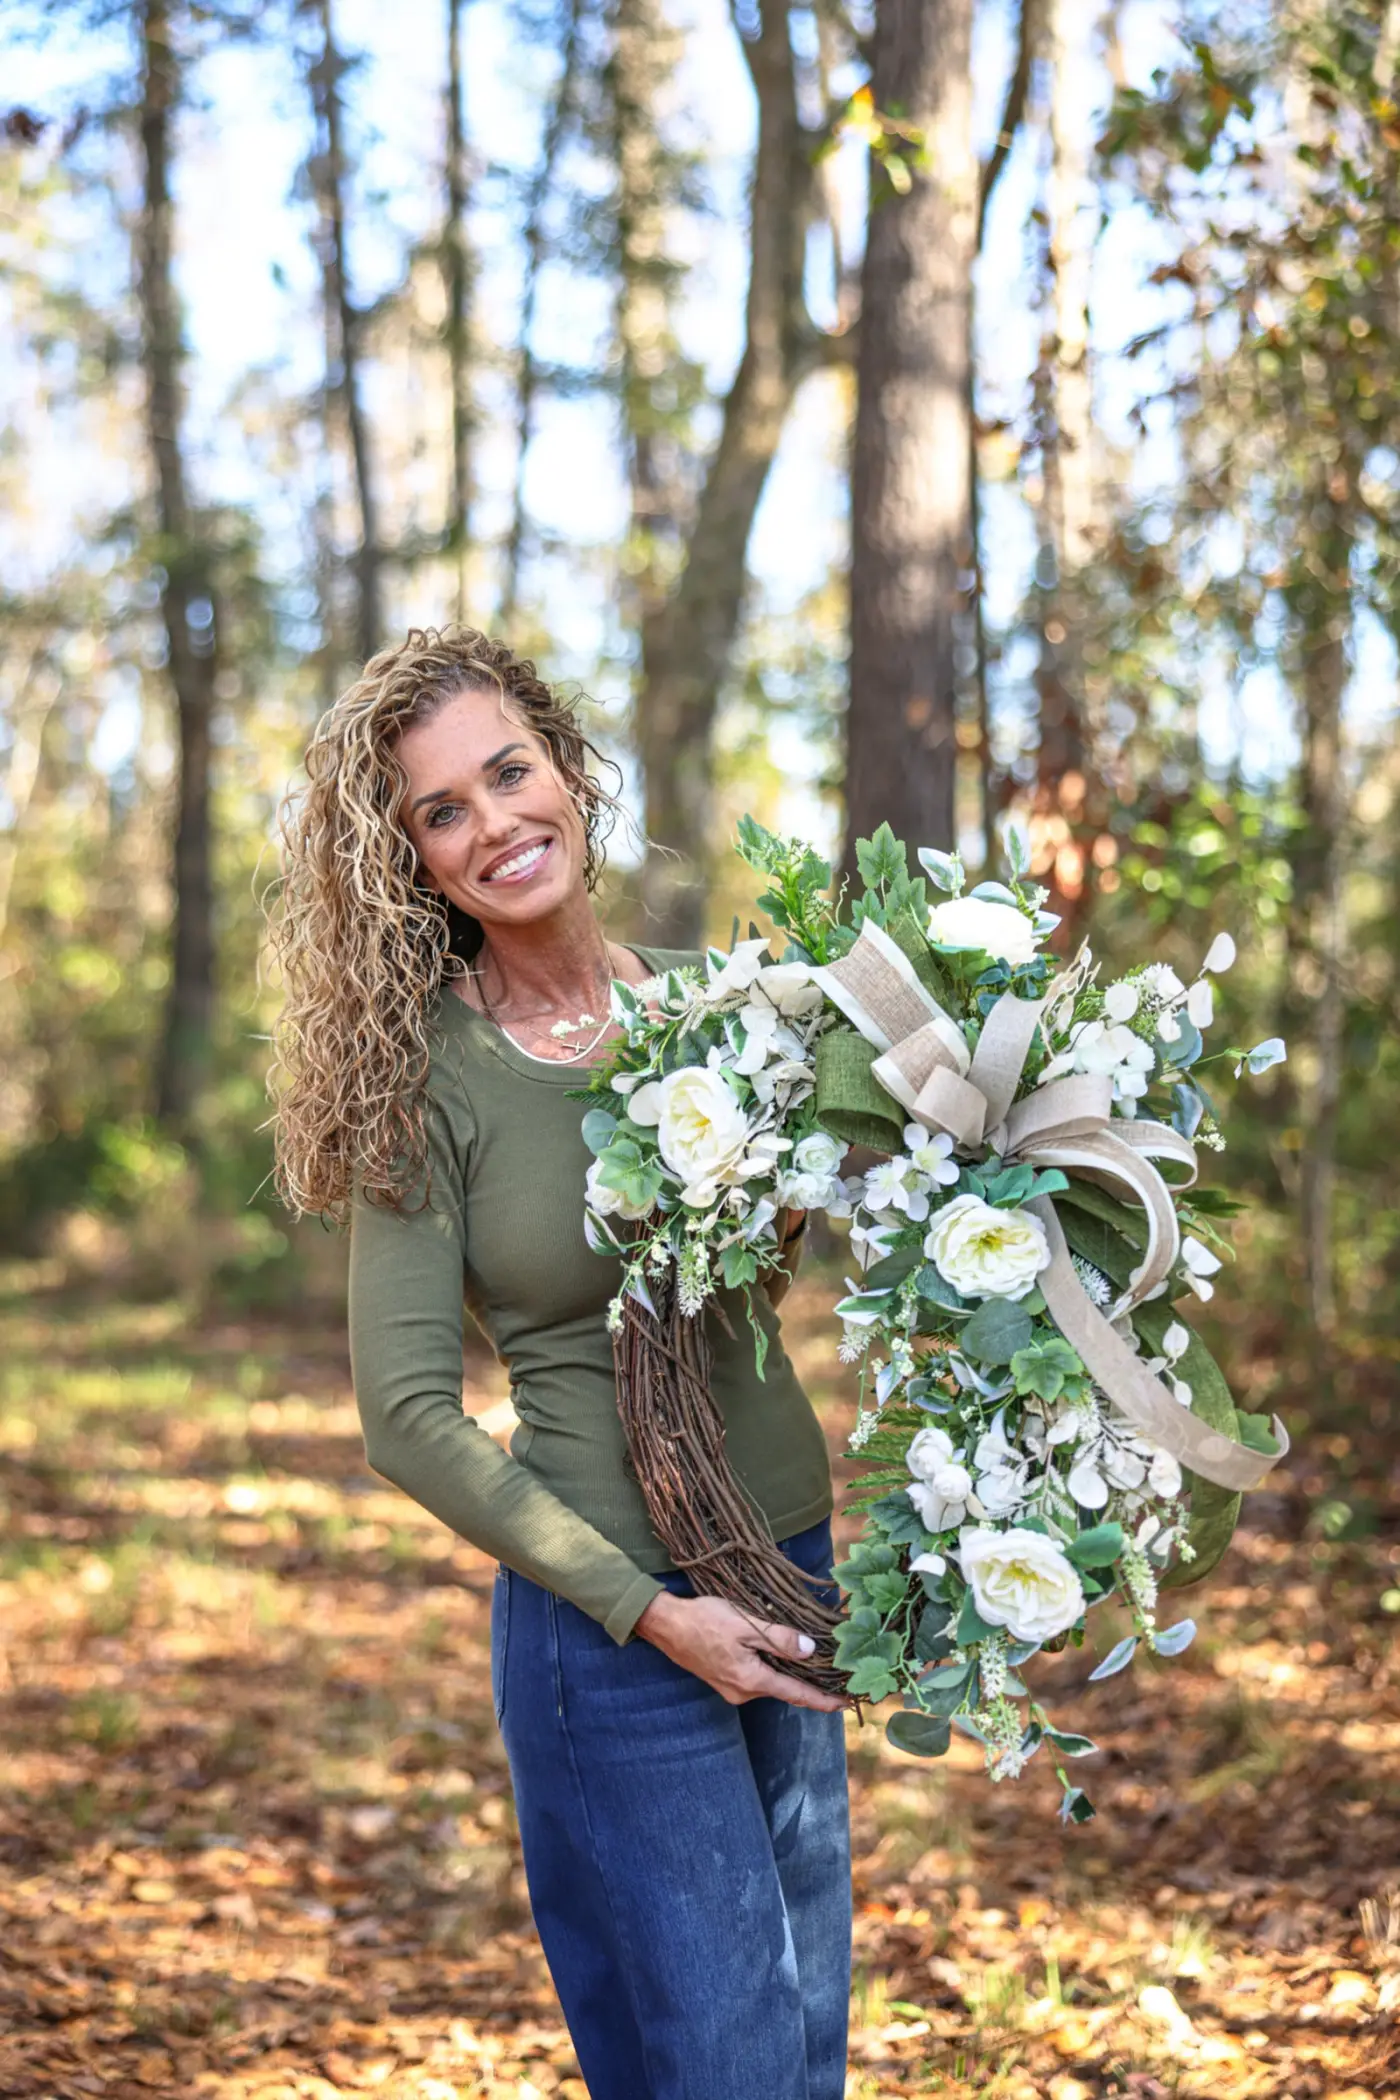
Finish the sequence with one complete wreath, built as if someone ordered it. Choose a late winter or early spring theme so it is useful once you are done: soft greens, white florals, eucalyptus, a neutral bow. Time yourself loosely, not to rush but to see where the minutes go. Most people find bow making and fussing over placement take longer than expected, which is exactly why those came first.
If you get stuck on any step, bring it to the group. A lot of this practice happens alongside other members, and you can see how that rhythm works in what a week inside the Kreative Krew looks like. Questions about a lopsided bow or a thin base are the kind of thing the Krew is there for.
Why practice now instead of in spring
Spring brings Easter, Mother's Day and front doors that need refreshing after winter. When that work starts, there is rarely time to experiment. Skills you build in January show up as cleaner work in March. Practicing with supplies you already own also keeps costs down, since reworking the same ribbon and base several times costs nothing extra.
Ready when you are
If you would rather see how finished pieces come together, browse the one-of-a-kind wreaths, swags and arrangements in the shop. If you want to build them yourself with guidance through the winter and into spring, the Kreative Krew membership is a good fit. Not sure whether a membership or a single tutorial suits you better? Our guide to choosing between a single tutorial and membership walks through it.
Frequently asked questions
Do I need to buy new supplies for these winter projects?
Usually not. The sequence is designed around reusing what you have. You can make, take apart and rebuild bows and bases several times with the same ribbon, mesh and greenery.
Should I start with a grapevine or a deco mesh base?
Try both during the base work weeks. They behave differently, and practicing each one bare, before adding florals, shows you which style you prefer and where your weak spots are.
How long does the full practice sequence take?
We plan it over about six to eight weeks, roughly two weeks each for bows, bases, balance and one finished piece. You can move faster or slower depending on your schedule.